People are very into continuous integration/continuous delivery because they mistake
The goal of the second CI/CD pipeline is to get Gitlab running in a cloud environment running at Google and deploy to any Kubernetes cluster/in particular GKE. I want everything to be easily versioned, so setup requires minimal configuration. This includes cluster setup
I also want as much storage to be managed. This means storing as much in an object storage (like S3 or here GCS) as possible and using managed databases. The reason for this is that storage provisioning in Kubernetes is a bit iffy still; you have to make storage reservations, which is expensive and doesn’t allow a sensible notion of overcommitting storage which in practise tends to lead to running out of storage, which is a bit if a PITA to deal with (before version 1.11, Kubernetes didn’t support resizing storage allocations and few if any public cloud providers run 1.11 as of writing).

Finally, while this is all running at Google, I want to at least have “plausible deniability,” and not do anything that is too Google specific, so I could conceivably move everything to Amazon or Azure (or some shady Chinese totally-not-government-controlled provider). This means using abstract services “object storage” and “relational storage” as much as possible instead of concrete cloud-provider services, and using custom components when needed (e.g., for ingress as we’ll see).
In an attempt to keep things relatively short, I’ve split this up into 3 (or maybe 4) parts:
- Generic Cluster Setup (this part): how to get running with a generic cluster that is relatively independent of the cloud provider, but provides basic services like a package manager, SQL database and
reverse proxy. Also includes a couple of basic infrastructure applications. - Installing Gitlab: Setting up the new cloud-native Gitlab helm chart including running it with production-ready storage options.
- Development Street Improvements: Various Java-specific improvements to the CI/CD pipeline I introduced previously.
Generic Cluster Setup
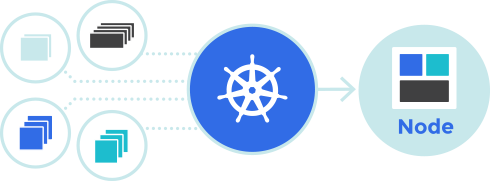
In this part, we’ll go over the setting up a generic Kubernetes cluster
Setting up a Cluster
Set up a cluster at your favorite provider. Or, if you’re particular machocistic, the one you hate the most. Any will do, but I’m using Google Cloud’s GKE because it’s very cheap.
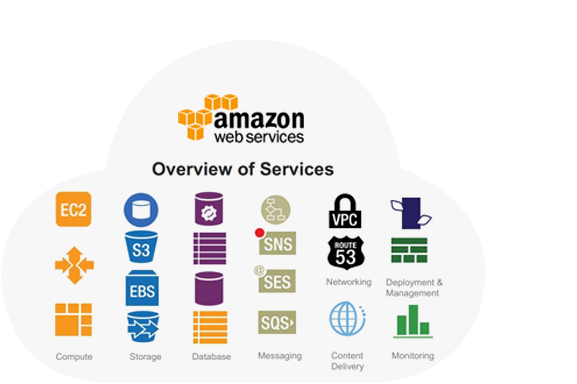
Amazon has an amazing suite of cloud components (for example, their cloud databases are unmatched by other providers) but
Azure is from Microsoft.
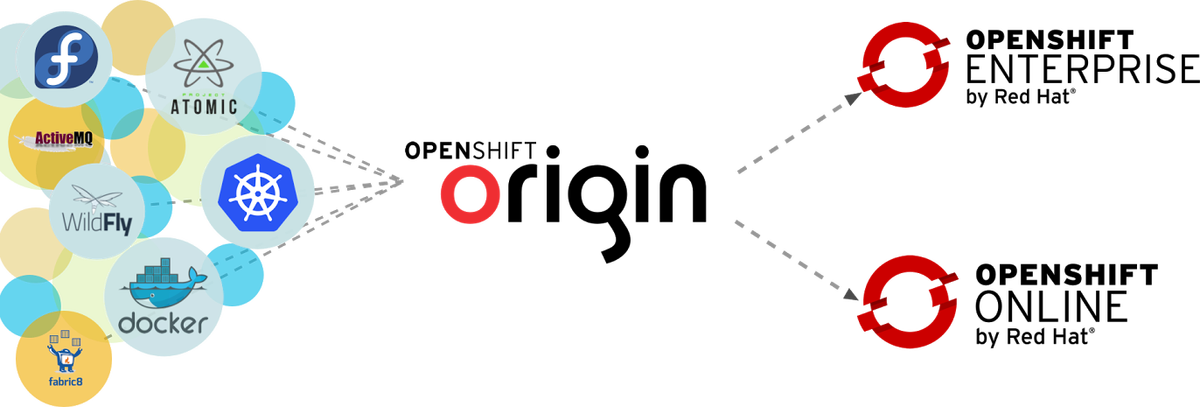
Openshift is the most expensive and least flexible
In all cases, we need to have a working

Installing Helm
To keep the cluster versioned, I’ll be using helm. Helm is a package manager, similar to yum or apt for Kubernetes clusters. It allows me to provision, update and delete entire applications, including all necessary services. The configuration is all in a single configuration file which specifies things like databases etc.
Helm comprises the helm client running on my laptop and a server component called tiller (which is amazingly amusing if you’re Danish and have as immature friends as I do).
Installing is a breeze by following the instructions from helm.sh: basically, run “helm init” and you’re good to go. You’ll probably have to grant cluster rights to the tiller accounts,
kubectl create serviceaccount --namespace kube-system tiller

kubectl create clusterrolebinding tiller-cluster-rule —clusterrole=cluster-admin -serviceaccount=kube-system:tiller

kubectl patch deploy --namespace kube-system tiller-deploy -p '{"spec":{"template":{"spec":{"serviceAccount":"tiller"}}}}'

helm init --service-account tiller --upgrade
Setting up Ingress
Ingress is Kubernetes language for reverse proxy. You’ll want an ingress that is able to expose services running in your cluster to the world. Most providers have their own, but it is also possible to use the excellent
Normally, a helm chart will come with simple installation instructions of the form “helm install stable/application” which is ok for just playing around. For more serious usage, I would recommend downloading the values.
helm upgrade --install application -f application-values.yml stable/application
The upgrade command will install the application if it’s not already installed and upgrade it otherwise (either installing a new
Delete a helm deployment using:
helm delete --purge application
In addition to

Setting up Relational Data Storage
Next, we want some sort of database. We’re not going to host that in our cluster, but instead leverage (anybody got bingo?) the cloud-native relational data storage. This allows us to
At Google, this means using Google Cloud SQL. Just provision a DB in the zone and with the desired HA/backup properties. Now, to access this from our cluster, we need a proxy so the cloud database appears as a regular database. Google has an abstract service for this, the Service Catalog, which manages the connection between “classical” cloud services and Kubernetes. In principle; currently it’s is so much beta, it doesn’t really support sufficient services so I gave up on this route.
Instead, I went with the GCP SQL Proxy helm chart.
Install Infrastructure Applications
I want my cluster to provide various services above just plain network services. Most importantly, I want to gather performance data from applications and provide standard SSO services.
For SSO, I’m using Keycloak. Don’t forget to configure it to use your SQL proxy and configure an ingress. I wrote a long post about how to use that for Gitlab and WordPress, and we’ll be doing that here as well (not WordPress), though I’ll only provide the changes to the Gitlab configuration for setting things up using helm here.

For monitoring, I’m using Prometheus. Many applications (such as Gitlab) include Prometheus in their helm charts, but I prefer to have a single instance shared among all the cluster applications. This of course means, we’ll have to disable Prometheus in Gitlab. Prometheus relies on persistent storage, so that’s a bit of a bummer. I want to look into some of the cloud-native monitoring tools as a replacement.

For analyzing Prometheus data, I use Grafana. It supports using persistent storage, but I have set it up to install plugins and set up dashboards in the helm configuration so we don’t need persistent storage.
Conclusion
At this point, we have a very good foundation for installing most applications: a generic Kubernetes cluster with a SQL database (PostgreSQL or MySQL as you prefer) and a reverse proxy that automatically directs to any configured services and fetches a high-quality TLS certificate.
Our cluster allows us to monitor
In the next part, we’ll get around to installing Gitlab itself into our cluster.