People are very into continuous integration/continuous delivery because they mistake
This is the second part of 3 (or maybe 4) parts on this topic; in the first part, we got a good basic cluster running and in this part, the goal is to get Gitlab running cloud-native using production settings, i.e., using a proper database and a cloud object storage (instead of in-cluster storage that must be manually managed). For reference, the parts are
- Generic Cluster Setup: how to get running with a generic cluster that is relatively independent of the cloud provider, but provides basic services like a package manager, SQL database and reverse proxy. Also includes a couple of basic infrastructure applications.
- Installing Gitlab (this part): Setting up the new cloud-native Gitlab helm chart including running it with production-ready storage options.
- Development Street Improvements: Various Java-specific improvements to the CI/CD pipeline I introduced previously.
Installing Gitlab
Gitlab only recently released a full cloud-native helm chart for Gitlab. In fact, when I started this work it was in a pre-alpha state, and most of this work was done while it was still in beta versions. As I write this, features are still missing, as is a large body of documentation. For this reason, I’ll go into a bit more details.

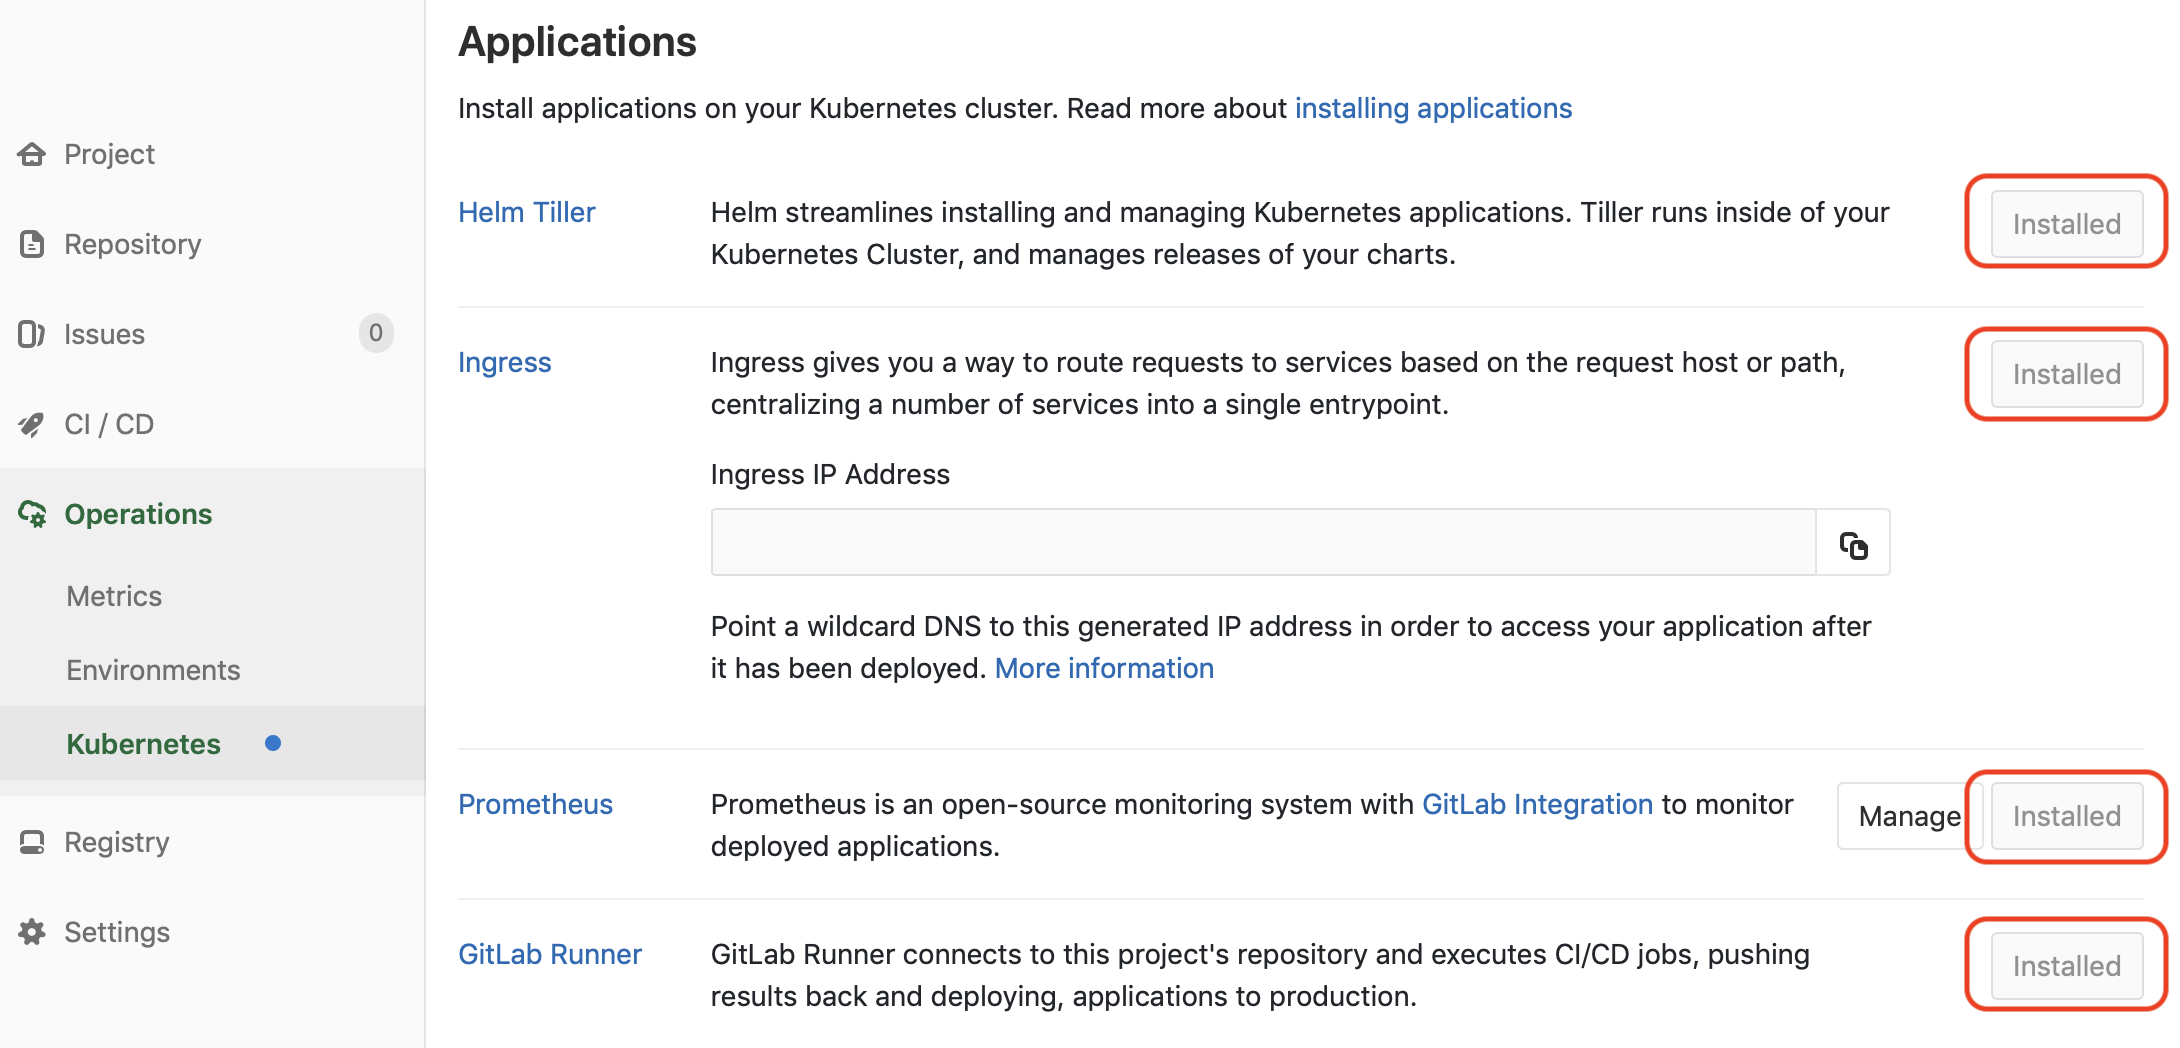
Using Cluster Ingress, Prometheus, and Database
The generic process is detailed in Gitlab’s guide, and we’ll be downloading the values.yaml from their repository as we do for other helm applications. The Gitlab chart provides a lot of features out of the box. This means it will be setting up a lot of
First order of business is to disable ingress,
Next, we want to use
Using Cluster Object Storage
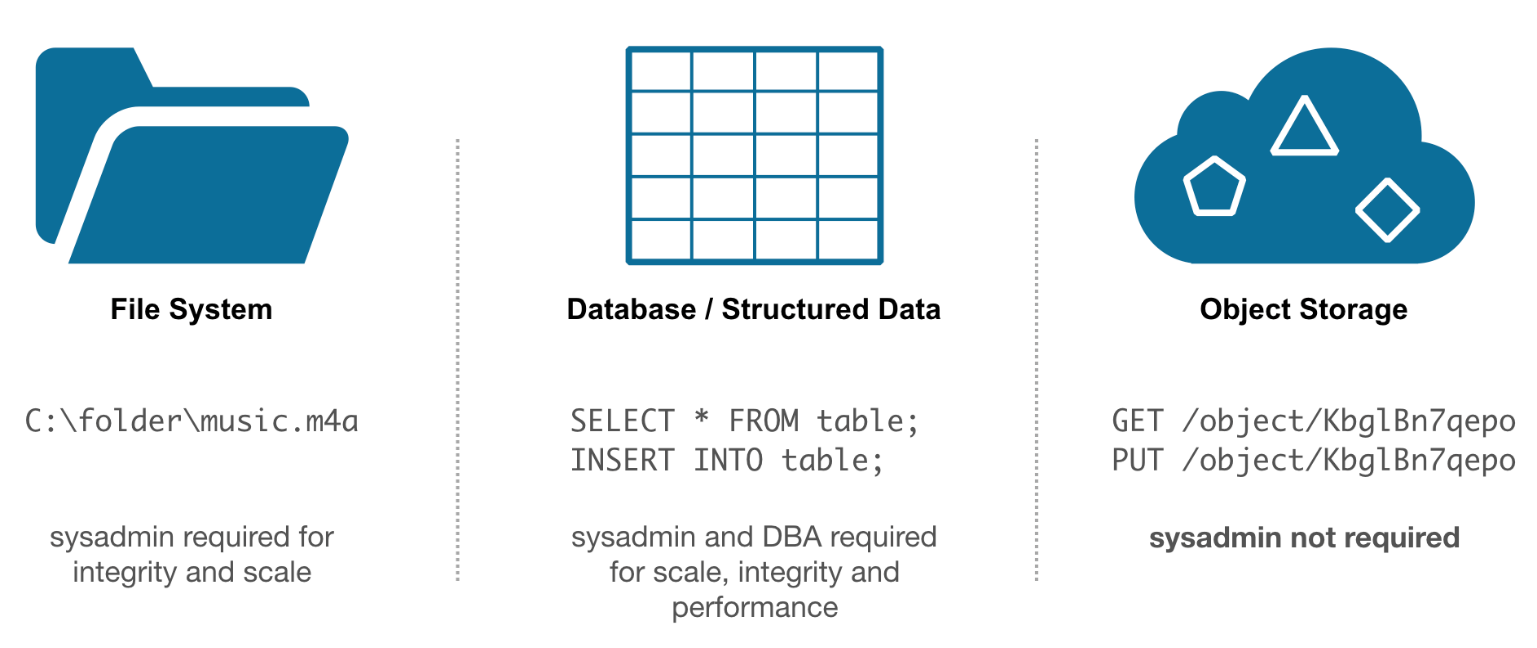
The hardest part is using GCS object storage instead of the included object storage. This guide lists some of the steps we need to take, but there’s more to it. Basically, object storage is (currently) used for the docker registry, for the CI runner cache, for backup, and for artifacts/uploads/
Registry
The registry is actually the simplest application to make work. This guide is quite helpful, but to Googlify it, we have to make a few changes. We create a bucket for our registry (say,
Next, we need to create a secret describing the object storage; for GCS, it looks like this:
gcs:
  bucket: gitlab-registry
  keyfile: /etc/docker/registry/storage/key
If we store the above in
kubectl create secret generic -n default gitlab-registry --from-file=storage=gitlab-registry.yml --from-file=key=gitlab-registry.json
That whole
The actual helm configuration tying this together is:
registry:
  enabled: true
  storage:
    secret: gitlab-registry
    key: storage
    extraKey: key
The secret refers to the name of the secret we created, and the key and
And that was the simple one.

Artifacts/Uploads/LFS
Configuring object storage for artifacts, uploads and LFS are done
For each, create a bucket and then create a service account with admin rights to them all. You can also create separate service accounts for each bucket if you like creating secrets in Kubernetes. You presently have to create separate buckets for each type of artifact.
Like for the registry, we have to create a descriptor of the storage, but of course, this looks entirely different. Here’s the correct format:
provider: 'Google'
google_project: 'project-identifier'
google_client_email: 'service-account-name@project-identifier.iam.gserviceaccount.com'
google_json_key_string: |
      {
        "type": "service_account",
        "project_id": "project-identifier",
        "private_key_id": "KEY",
        "private_key": "-----BEGIN PRIVATE KEY-----PRIVATE KEY JUNK\n-----END PRIVATE KEY-----\n",
        "client_email": "service-account-name@project-identifier.iam.gserviceaccount.com",
        "client_id": "ID HERE",
        "auth_uri": "https://accounts.google.com/o/oauth2/auth",
        "token_uri": "https://oauth2.googleapis.com/token",
        "auth_provider_x509_cert_url": "https://www.googleapis.com/oauth2/v1/certs",
        "client_x509_cert_url": "https://www.googleapis.com/robot/v1/metadata/x509/service-account-name@project-identifier.iam.gserviceaccount.com"
      }
The worst part is the JSON; it’s just the contents of the JSON file we got when creating the service account, but indented extra. We use the YAML feature to allow preformatted strings by using the pipe notation and indenting it. We do not need to make any changes to the contents except indenting. Copy the value of client_email from the JSON file to the google_client_email field and project_id to google_project.
We then create the secret using:
kubectl create secret generic -n default gitlab-object --from-file=connection=gitlab-object.yml
and configure the object stores in the helm configuration as:
lfs:
  bucket: gitlab-lfs
  connection:
    secret: gitlab-object
    key: connection
artifacts:
  bucket: gitlab-artifacts
  connection:
    secret: gitlab-object
    key: connection
uploads:
  bucket: gitlab-uploads
  connection:
    secret: gitlab-object
    key: connection
The three bucket fields correspond to the three buckets we created. The secret and key refer to the secret created in the previous step and the key used. Here, we use the same secret and key for all.
NOTE: while the backup is located just below these and looks almost the same, it is configured entirely differently.
Installing Minio GCS Gateway
The runner cache and backup configuration do not support GCS currently. The runner cache is updated to support GCS in for version 11.3. The current chart ships with 10.3, even though 11.2 is the newest version available. For this reason, we need an S3 -> GCS compatibility layer. In a month or so it should be possible to look at the cache configuration in their repository and combine it with the documentation of the cache for the runner to derive the proper configuration.
You might be tempted to use Google’s S3 compatibility layer. I know I was. That doesn’t work, though, so instead
It seems natural to install the helm chart for Minio, but unfortunately, this has a bug which makes it impossible to add the GCS credentials to the deployment. Instead, we install Minio using the Kubernetes deployment the old-fashioned way.
We follow this guide to set up Minio. Make sure you create a service account and give it access to the two buckets you use for runner cache and backup, creating a JSON file used for authentication. Make sure that you provide sensible values for access and secret key.
I set my

Runner Cache
For now, I’m using Google’s S3 proxy (it is reportedly also possible to use minio as a proxy even as your own object storage). Crete a bucket and enable the proxy here under interoperability. You don’t need a service account here.
The configuration is not in the default values.yaml for Gitlab, but if you look at the Gitlab Runner helm chart project, you can see examples; here’s the configuration to configure access using the S3 proxy:
gitlab-runner:
  install: true
  rbac:
    create: true
  runners:
    cache:
      cacheType: s3
      s3BucketName: gitlab-runner-cache
      s3ServerAddress: https://minio.example.org
      cacheShared: true
      s3BucketLocation: minio
      s3CachePath: gitlab-runner
      s3CacheInsecure: false
      secretName: gitlab-cache
We have the bucket name and the location (just a dummy value here), an address (the ingress created for
kubectl create secret generic gitlab-cache --from-literal=accesskey="S3 ACCESS KEY" --from-literal=secretkey="S3 SECRET KEY"
Again, everything goes on a single line.
Backup
Finally, there’s the backup. It may or may not support GCS, but I am using the S3 proxy in our previously installed Minio.
For this, we need to buckets. We set the bucket names in the helm configuration:
backups:
  bucket: gitlab-backups
  tmpBucket: gitlab-tmp
Then, we need to also tell it where to get the configuration in a completely different section of the helm configuration:
gitlab:
  task-runner:
    backups:
      objectStorage:
        config:
          secret: gitlab-backup
          key: config
The secret and key comes from gitlab-backup.conf:
[default]
access_key = S3 ACCESS KEY
secret_key = S3 SECRET KEY
bucket_location = minio
website_endpoint = https://minio.example.org
And put into a secret using:
kubectl create secret generic gitlab-backup --from-file=config=gitlab-backup.conf
SSO
Setting up SSO is deceptively simple; use my guide to doing the configuration in the Omnibus
gitlab:
    omniauth:
      enabled: true
      blockAutoCreatedUsers: false
      allowSingleSignOn: ['oauth2_generic']      autoSignInWithProvider: 'oauth2_generic'
      providers:
        - secret: gitlab-keycloak-oauth2
        - secret: gitlab-google-oauth2
The configuration closely matches what we did in the Omnibus setup. We refer to two secrets, one for Keycloak and one for Google, but only the Keycloak one is allowed to log us in. The second is set up to allow us to connect projects with GCE down the road.
The secrets contain the contents they also would in the omnibus installation, except as YAML instead of JSON:
name: 'oauth2_generic'
app_id: 'CLIENT ID HERE'
app_secret: 'SECRET HERE'
args:
  client_options:
    site: 'https://sso.example.org'
    user_info_url: '/auth/realms/REALM/protocol/openid-connect/userinfo'
    authorize_url: '/auth/realms/REALM/protocol/openid-connect/auth'
    token_url: '/auth/realms/REALM/protocol/openid-connect/token'
  user_response_structure:
    attributes:
      email: 'email'
      first_name: 'given_name'
      last_name: 'family_name'
      name: 'name'
      nickname: 'preferred_username'
    id_path: 'preferred_username'
The CLIENT ID and SECRET we get from Keycloak, the REALM is as configured, and we need to set the proper site. That’s all there is to it. Create the secret using the now familiar:
kubectl create secret generic -n default gitlab-keycloak-oauth2 --from-file=provider=gitlab-keycloak-oauth2.yml
The Google secret looks like this:
name: 'google_oauth2'
app_id: 'APP ID.apps.googleusercontent.com'
app_secret: 'SECRET'
args:
  access_type: 'offline'
  approval_prompt: ''
Set up an OAuth2 application at Google to get the APP ID and SECRET using Gitlab’s guide.
What’s Missing
Currently, the helm chart does not support Gitlab Pages, but I anticipate this will soon be added. And I assume that means there’ll be a fifth way of configuring object storage when that happens.
Cluster Management with Gitlab
Gitlab comes with Kubernetes management built in. We want to use that for individual applications. I already went over the basics in my previous post, but here I’ll expand slightly on this.
Runner Configuration
Gitlab CI supports several kinds of runners for running CI/CD jobs. Basically, runners can be shared among all projects, can be specific to a group or project and can be more or less trusted.
It often makes sense to have a handful of relatively powerful runners shared among all projects; rarely do they need to access sensitive data and we can then
The standard Gitlab char sets up shared runners. These runners run in the same cluster as
gitlab-runner:
  install: true
  rbac:
    create: true
  runners:
    tags: shared
    privileged: true
(Note that this should most likely be merged with the cache configuration for the runners). Now, we can build docker images in the cluster and pin applications using the tag “shared.”
Cluster Configuration
For each application or application group, we configure a cluster in Gitlab. Since we set up Google authentication, it is possible to link a Google account to our Gitlab account:
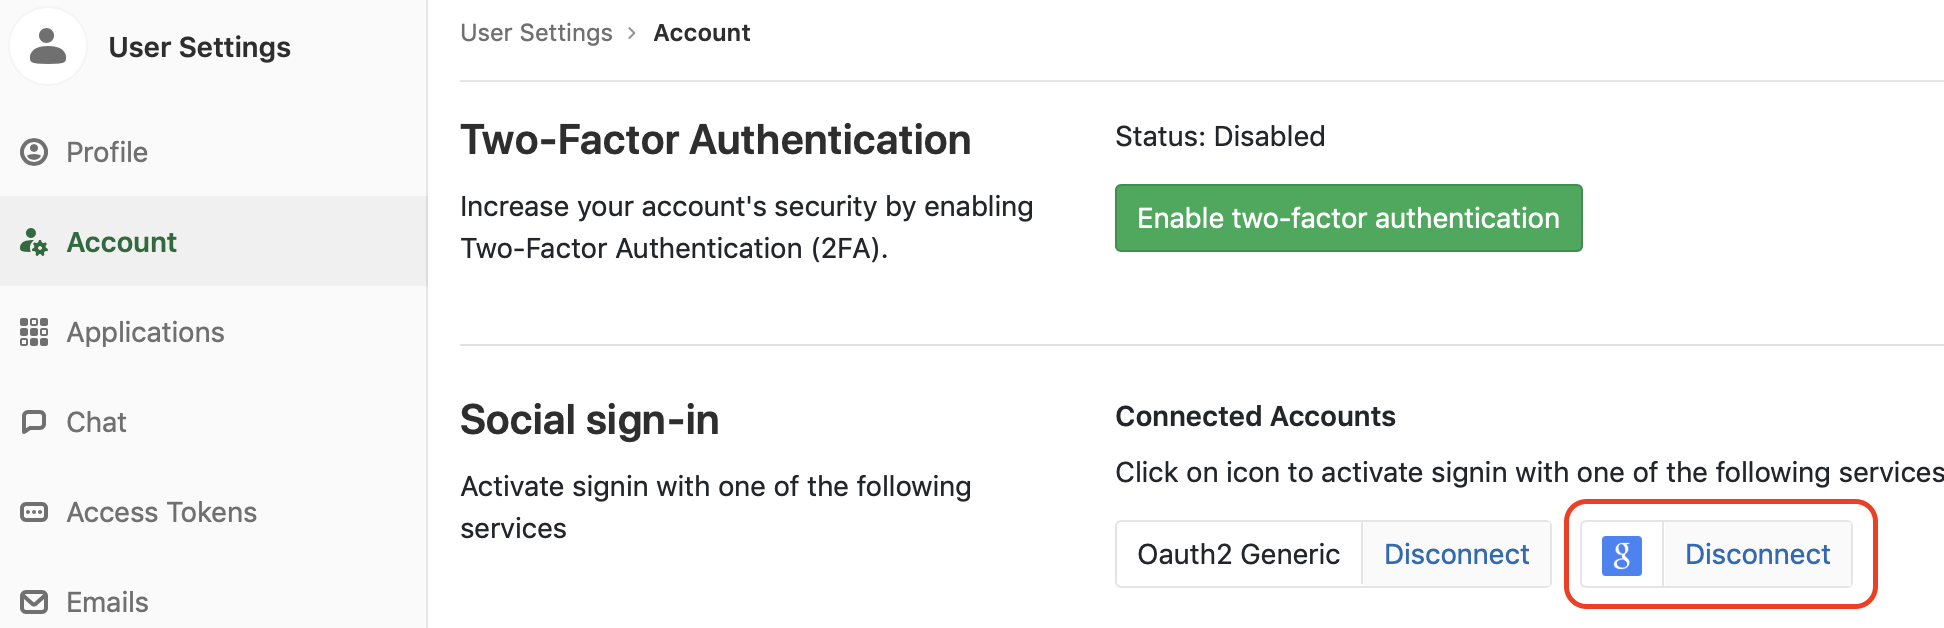
I cannot use the account for login, but this allows me to create a Kubernetes cluster in GCE:
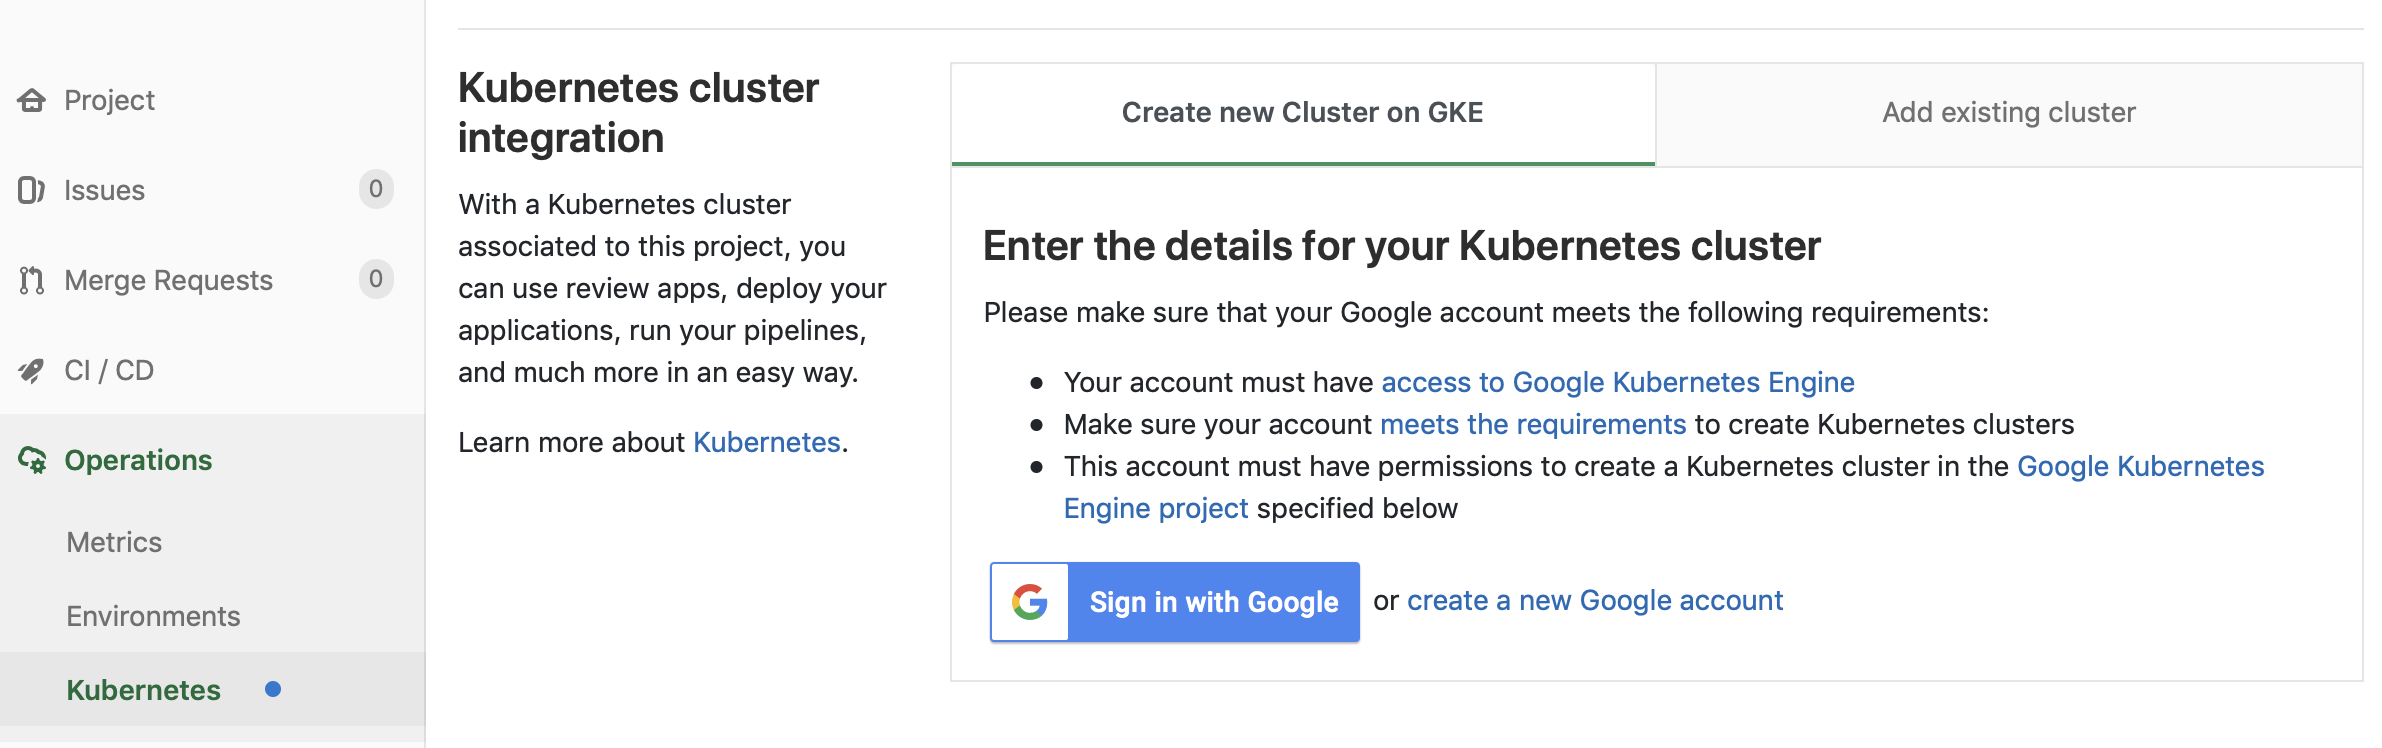
After creating the cluster, I install Helm, Ingress
I can now run jobs inside my application cluster by simply pinning them to either or both of the tags “
Conclusion
At this point, we have a cluster with a working Gitlab configuration. Most of the application is running nice and
We manage a separate cluster for our application, which can be used for project-specific build or running confidential jobs that should not be run on shared runners.
In the next section, we’ll get around to upgrading the CI/CD pipeline to take advantage of this new setup.